
This Tut was created in JASC PSP9.
Supplies Needed-
Supplies Needed-
A Tube
I'm using the PTU Artwork of The Vintage Angel, you need a license # to use it
and you can purchase it at CDO here
No Outside Filters Used
------------------------------
Foreground color= I used #d4e7ec
Background color= I used #4d678c
Step 1- File/New Image 950 by 575, White
Change background color to Gradient using these settings-
0,5, Radial, H & V= 50
Layer/New Raster Layer
Floodfill with your background Gradient
Adjust/Blur/Gaussian Blur- 20
Step 2-
Change your background Gradient back to color
Layer/New Raster Layer
Floodfill with Background color (#4d678c)
Change the Opacity to 75%
Step 3- Open deco1
I recolored mine
Ajust/Hue and Satuation/Colorize/
Hue= 135, Saturation= 132
Edit/Copy/Paste As New Layer, Close Original
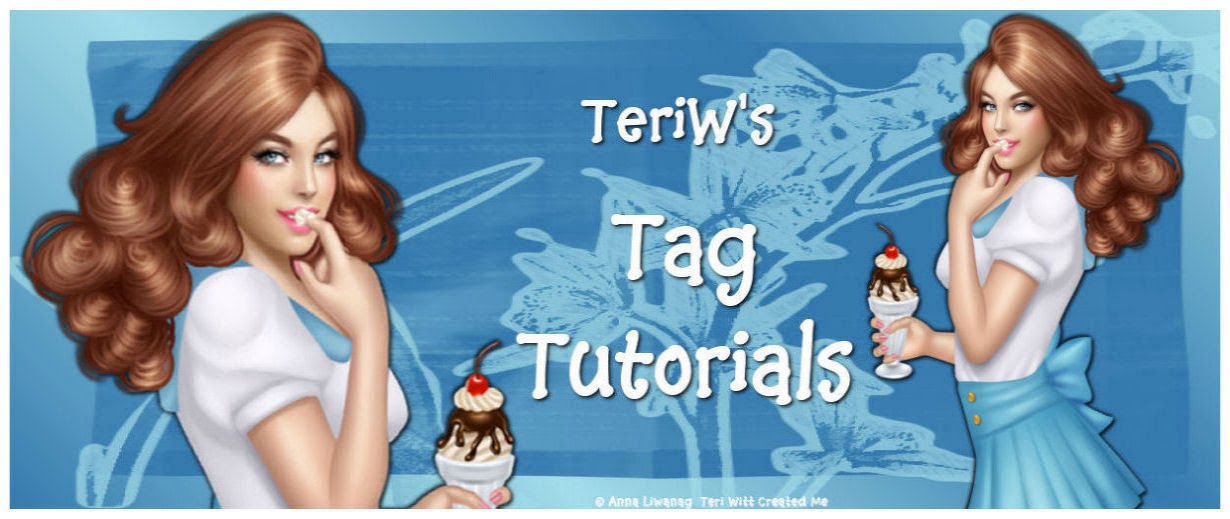
With the Move Tool, position the deco1 to the top left of the canvas
See my tag for example above
Step 4-Layers/Duplicate
Image/Mirror
Layers/Merge/Merge Down
Layers/Duplicate
Image/Flip
Layers/Merge/Merge Down
Step 5- Open CDO-7-3-The Vintage Angel_Tranquility
Edit/Copy-Minimize the tube
Back on your working canvas, highlight Raster 1 (one layer up from the Background Layer)
Selections/Select All
Step 6- Layers/New Raster Layer
Edit/Paste/Paste Into Selection
Selections/Select None
Image/Mirror
In the materials palette change the Blend Mode to Luminance (Legacy) and
Opacity to 75%
Layers/Merge/Merge Visible
Step 7- Edit/Paste/Paste as New Layer
Image/Resixe by 135%-All Layers-UNchecked
With the Move Tool, position to the right bottom side of canvas
Effects/3D Effects/Drop Shadow with these settings-
V & H= 4, Opacity- 50, Blur= 5, Black
Step 8-
Image/Add Borders/3,Foreground Color (#d4e7ec0)
Image/Add Borders/3,Background Color (#4d678c)
Image/Add Borders/30, Foreground color (#d4e7ec0)
Step 9- Click on the 30 border with the Magic Wand
Add (shift)-RGB Value, Tolerence and Feather-0
Contiguous and Anti-Alias-Both Checked
Effects/Reflections Effects/Pattern with these settings-
-3, -76, 35, -9, 3, 15,35, -10
Step 10- Effects/3DEffects/Inner Bevel with these settings-
Bevel=7, 8, 0, 5, 10, 0, White, 315, 30, 50
Selections/Select None
Image/Add Borders/3, Background Color (#4d678c)
Step 11-
Layers/New Raster Layer
add your text and copyrights
Layers/Merge/Merge All (Flatten)
Image/Resize by 75%, Two Times
Adjust/Sharpen/Unsharp Mask-
5, 10, 5
Export as JPEG Optimizer and save to your designated folder.
Thank you for doing my Tutorial and a Special thanks for testing it to-
MaryD
Jani
Janis
Sammy
MaryD
Jani
Janis
Sammy